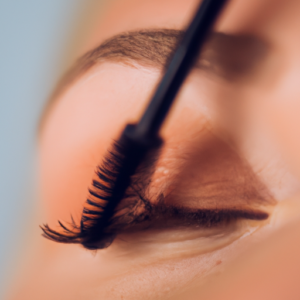
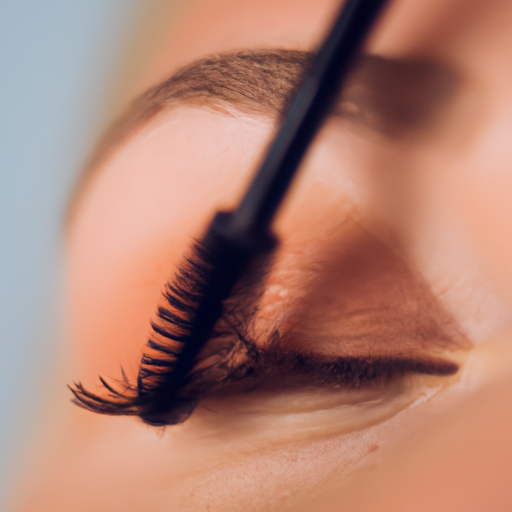
Eyelashes are something all of us can agree are essential for a polished look, so it’s no surprise that one of the most important parts about applying mascara is making sure to get your lower lashes. Lower lash mascara application can be a little tricky though and I’m here to help make it easier! Today I’ll be giving you tips on how to prepare and apply mascara on those pesky lower lashes, as well as some tricks to get the best results.
How to Prepare for Lower Lash Mascara Application
Before getting started, there’s a few things you’ll want to make sure you have on hand. First, a nice clean mascara wand—no clumps here! Next, an eyelash curler, which will help open up the lower lashline. Finally, a great quality mascara formulated specifically for your lower lashes. These days, there are so many options out there that it may be hard to choose, but don’t skimp on quality here.
Once you’ve got all the necessary tools, it’s time to start priming. Wash your hands, then gently pull down the lower lid and dab away any makeup or dirt with a cotton swab. Now that your lower lashes are properly prepped, grab those tools and let’s get started!
Step by Step Guide for Applying Mascara to Lower Lashes
Before diving into the application process, make sure you have all of your tools ready: a clean mascara wand, an eyelash curler, and some good-quality mascara. With this arsenal in hand, you’re ready to transform your lower lashes!
To get started, place the wand just above the root of the lash line, and then gently wiggle it back and forth as you work it down towards the tips. This tiny bit of movement will help to ensure that every single lash is coated with that volumizing color. Make sure not to drag the brush too harshly across the lashes — a gentle touch is key.
Once the roots are taken care of, move on to the outer corner of the eye. As you apply the mascara, pull the wand outward in a slow, sweeping motion, making sure to evenly coat each lash from root to tip. You can give extra love to any sparse spots, but be careful not to pile on product — a few light coats are plenty.

For a truly dramatic effect, try using an eyelash brush to separate and define each lash after you’ve finished applying the mascara. This final step adds a stunning look that’s sure to turn heads.
Tips for Achieving the Best Results
Whoever said beauty comes with a price clearly had applying mascara to lower lashes in mind. Applying mascara to your lower lashes can be tricky – and if done improperly, leave you with spidery lashes or raccoon eyes. Here are a few tips to help you get the most out of your lower lash mascara application.
First things first: make sure you have the right tools. A clean wand is essential for avoiding clumps or flakes. Also, use an eyelash curler before you start applying mascara – this will create a longer, fuller look and will help keep your mascara from smudging.
When it’s time to start working your mascara on your lower lashes, it’s important to start at the roots. Gently wiggle the wand between your lashes, getting as close to their roots as possible. Then, stroke the wand in an outward direction, brushing the lashes as you go.
An eyelash brush is a great tool to have when it comes to lower lash mascara application. Use it after the mascara is applied to separate and define each lash. This will give you more of a doe-eyed look, which is always flattering.
Finally, don’t overwork the mascara on your lower lashes. Too much product on them can give you an overdone look, which can make you appear older than you really are. So a light coat is best, and remember to use a gentle hand when stroking the wand.
It’s been quite a journey, and now it’s time to wrap this blog post up! In conclusion, applying mascara to your lower lashes can be daunting at first, but it doesn’t have to be. By following the steps for preparing for application, using a gentle motion when applying the mascara, and implementing a few helpful tips, you can achieve beautiful, voluminous-looking lower lash lines in no time!Take your time with the process and don’t be afraid to use some extra tools, like an eyelash brush or curler–these will help separate and define each one of those tiny, hard-to-reach lashes. And whatever you do, don’t overwork the mascara–less is more!With that said, I’m certain you’re ready to get out there and work your magic! So grab your tools, have fun, and remember to always work your way from the root of the eye outward. Good luck!
Mascara Tips
How do you apply mascara to your lower eyelids?
I learned this trick from a professional makeup artist: Apply mascara to your lower lashes by wiggling the wand back and forth from the root of the lashes to the tips. Start at the root of your lower lashes and wiggle the wand up to the tips. Then, use the tip of the wand to get your tiny inner corner lashes. This will help to coat them with mascara evenly and also prevent clumping. To really build up length and volume, use the tip of the wand and twirl it outward at the tips. This ensures that you get the most volume and length. For clump-free definition use a thin brush or a clean spoolie to separate the lashes.
To keep your other eye from getting smudged or smeared, use a tissue or a q-tip to gently remove any excess mascara from the brush before applying to the other eye. Then, use the wand on your other eye in the same way. Finally, for the longest, fullest lashes, be sure to let each coat of mascara dry before applying another. This will help prevent clumps and give you a gorgeous, long-lasting effect.
Does bottom lash mascara make your eyes look bigger?
I sure do know that bottom lash mascara can be a game-changer when it comes to making your eyes look bigger! Applying mascara to lower lashes can be tricky, though, because you’ll have to get really close to the mirror, and if you blink when you apply it, oops – you could end up looking like a raccoon.
So here’s the scoop: Start by curling your lashes like you usually do. Then, grab your mascara wand and, using a light touch, sweep it onto the ends of your lower lashes in a zig-zag motion. Make sure the wand is angled downward, which will help you avoid getting product on your lid. Also, resist the urge to apply it to the entire length of the lash – this could end up making your eyes look too heavy.
Once you’ve got the hang of it, you’ll want to consider adding a coat of clear mascara. This is a great way to help hold your lashes in place and avoid smudging, which can instantly take away from that big-eye look. And, most importantly: no blinking! I know it’s hard, but trust me on this one.
