Get that Clumpy Look: The Ultimate Guide to Applying Clumpy Mascara
Are you tired of the same old perfect and natural mascara look? It’s time to embrace the clump! Clumpy mascara is a makeup trend that has been gaining popularity in recent years. It’s a messy, bold, and daring look that can help you stand out from the crowd. Clumpy mascara gives your eyelashes an edgy and dramatic look, adding character to your eyes. If you want to try out this fun and trendy look, keep reading for expert advice on how to apply clumpy mascara.
Get Ready to Apply Clumpy Mascara Like a Pro
Before diving into the world of clumpy mascaras, it’s important to prepare your eyes and lashes properly. Trust me; you don’t want to end up with smudged mascara or irritated eyes. Here are some steps to follow before applying clumpy mascara:
Step 1: Cleanse and Prep
Start with clean lashes: this is essential. Cleanse your face and ensure all traces of makeup are removed from the lashes. Then, apply an eye cream or primer to your eyelashes. Ensure the products are gentle and allow them to absorb into the skin and lashes fully.
Step 2: Invest in a Lash Comb
For best results, invest in a lash comb. A Lash comb will not only help you achieve a more dramatic look but will also ensure that your mascara is applied evenly. It will also help you separate and define the lashes for a clumpy but well-groomed look.
Step 3: Choose the Right Mascara
Choosing the right clumpy mascara can make all the difference between a flawless and a failed application. Pick a mascara with a thick and creamy formula. This type of formula enables you to achieve a more intense and noticeable look.

You don’t want to throw all your mascara onto your lashes in one go. Take your time and apply the mascara slowly in layers until you get the desired texture, ensuring that each layer dries completely before applying the next.
Step 5: Use a Cotton Swab
Finally, take a cotton swab and remove any excess or clumps of the mascara around your lashes. Use a gentle hand and ensure that you don’t disturb the mascara already applied.
With proper preparation, applying clumpy mascara can be easy-peasy. Exercise caution and follow these tips to help you achieve a perfect look that is long-lasting and fabulous.
Get a bold look with clumpy mascara: The ultimate step-by-step guide
Are you tired of the subtle and simple look of regular mascara? Try clumpy mascara! This bold and daring look can add volume and texture to your lashes. In this step-by-step guide, I’ll show you how to apply clumpy mascara like a beauty expert.
Step 1: Choose the right mascara
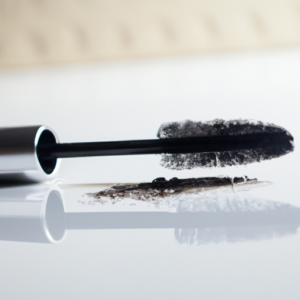
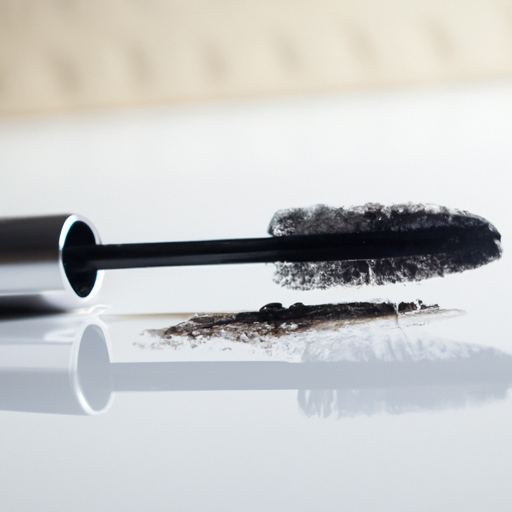
The type of mascara you choose is crucial to achieve the clumpy effect. Look for a formula that is thick and has a dry consistency. The wand is also important; choose one with dense bristles and a substantial amount of product on it.
Step 2: Curl your lashes
If you want to add more depth and volume to your lashes, curl them before applying mascara. Use an eyelash curler and hold at the base of your lashes for ten seconds, then release.
Step 3: Apply the mascara
Starting at the base of your lashes, apply the mascara using a zigzag motion. Use the tip of the wand to add extra product to the tips of your lashes, making sure to create clumps. Repeat this step until you achieve your desired level of fullness and clumpiness.
Step 4: Add another layer
If you’re not satisfied with the level of clumpiness, add another layer of mascara, repeating the zigzag motion with the wand. This will add extra volume and texture to your lashes.
Step 5: Use a clean spoolie brush
After applying the mascara, use a clean spoolie brush to separate the lashes and remove any clumps or excess product. This will give you a polished and precise result.
Step 6: Embrace the clumpiness
Don’t be afraid to embrace the clumpiness! The whole point of clumpy mascara is to make a bold statement. So, if some lashes stick together, or there are visible clumps, that’s okay! It adds character to your look.
Step 7: Finish with eyeliner
To complete the look, add eyeliner to your upper lash line. This will define your eyes and make them pop.
Follow these easy steps, and you’ll be rocking bold and beautiful clumpy mascara in no time!
Finishing Touches: Perfecting Your Clumpy Mascara Look
Here are some final touches and tips to ensure that your application of clumpy mascara looks flawless:
– Use a clean spoolie or brush to comb through your lashes to separate and remove any clumps that may have formed during application.
– Apply a second coat of mascara to add volume and enhance your clumpy look.
– Use a tissue to blot any excess product to prevent smudging or transfer onto your skin.
– Add a pop of color to your lips or cheeks to balance out the boldness of your mascara look.
– Don’t be afraid to experiment and play around with different techniques to achieve your desired clumpy effect.
– Finally, make sure to remove your mascara completely at the end of the day to maintain healthy lashes and prevent any irritation or infections.
By following these few tips, you can easily perfect your clumpy mascara look and rock this daring trend with confidence!
5. Conclusion: So, there you have it – Clumpy Mascara is the New Black
After trying out and becoming a fan of clumpy mascara, I have to say that it has become my go-to in my makeup routine. Not only does it give my lashes added volume and length, but it also adds a touch of drama to my look.
One of the things I found most helpful when applying clumpy mascara is to take my time and apply it slowly, layer by layer. This allows me to control the amount of product that goes on my lashes and helps to avoid potential clumps.
Another tip I found to be useful is to use a lash comb or spoolie brush to separate my lashes and remove any excess mascara. This helps to define and evenly distribute the mascara.
But, sometimes, despite our best efforts, clumps may still occur. That’s when I turn to Winks Eyelash Boutique’s guide on fixing clumpy mascara on your lashes. Their easy-to-follow tips have saved me from having to remove and reapply my mascara, saving me time and frustration.
So, don’t be afraid to try out the clumpy mascara trend! With the right techniques and tools, you can achieve a flawless and bold look that will make heads turn.
Happy clumping!
