Get Lifted: Achieve Bold Lashes with a Lash Lift
Hey there! Are you ready to take your lashes to new heights? As a lash artist, I know the power of a good lash lift. If you’re not familiar with the term, a lash lift is basically a perm for your natural lashes. It’s a treatment that curls and lifts your lashes, giving them a more lifted and defined look.
The benefits of a lash lift are numerous. Not only does it save you time and money (goodbye, lash extensions!), but it’s also low maintenance and lasts for up to eight weeks. Plus, a lash lift is a gentle alternative to eyelash extensions, so it’s perfect for those with sensitive eyes or allergies.
If you’re interested in trying out a lash lift for yourself, keep reading for a step-by-step guide on how to do it at home!
But first, let me link you to a great resource where you can learn more about lash lifts and find a professional near you: Winks Eyelash Boutique.
Step-by-Step Instructions: My Guide to Achieving Flawless Lash Lifts
Hey guys, welcome to my step-by-step guide to achieving a flawless lash lift! This technique has been a game-changer for me, giving me fuller and longer lashes without the need for mascara or lash extensions. Let’s get started.
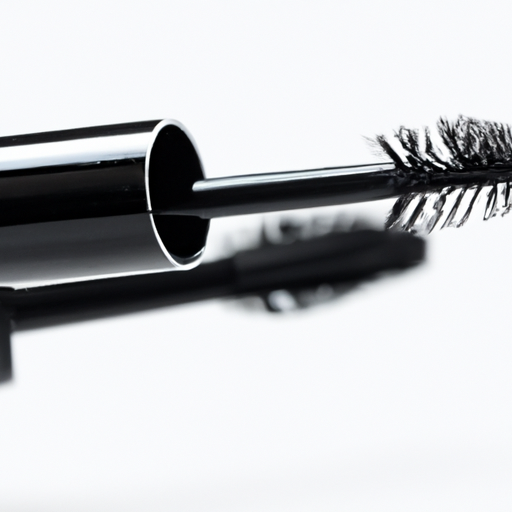
The first step is to gather all the necessary supplies. You will need a lash lift kit that includes lift and setting solutions, adhesive, lift pads, and a nourishing oil. You will also need cotton pads, a lash cleanser, and a mascara wand.
Step 2: Prepare the lashes
The next step is to prepare your lashes. Start by cleansing them to remove any dirt or makeup. Then, use the mascara wand to separate and lift your lashes. This will help ensure that they are evenly placed on the lift pads.
Step 3: Apply adhesive and lift solution
Apply a small amount of adhesive to the back of the lift pad and place it onto your eyelid, making sure it is lined up with your lash line. Then, use a micro-brush to apply the lift solution onto your lashes. Be careful not to get the solution in your eyes!
Step 4: Place the lift pads
After applying the lift solution, place the lifted lashes onto the lift pad using a mascara wand. Make sure they are straight and even, and adjust if necessary.
Step 5: Apply the setting solution
Once the lift pads are in place, apply the setting solution to your lashes using a fresh micro-brush. This will help lock in the lift and shape of your lashes.
Step 6: Remove lift pads and apply nourishing oil
After a few minutes, gently remove the lift pads and apply the nourishing oil to your lashes. This will help moisturize and strengthen your lashes, ensuring they stay healthy and strong.
Remember to follow the directions on the label, avoid getting the solution in your eyes, and discontinue use if any irritation occurs. With these simple steps, you can achieve stunning, natural-looking lashes that will make your eyes pop!
Expert Tips for a Safe Lash Lift Procedure
As a lash lift enthusiast, I have had my fair share of mishaps and scary moments during the process. Therefore, I want to emphasize the importance of safety considerations when performing a lash lift procedure. Here are some expert tips to ensure a safe and successful lash lift experience:
Follow Directions on Label‼️
The most crucial aspect to ensure safety during a lash lift is to follow the directions on the label of your lash lift kit. Different lash lift products have varying formulas and instructions, and thus, it is vital to read the instructions carefully before starting the procedure. Failure to heed instructions may result in discomfort, irritation, or even harm to your eyes and lashes.
Avoid Getting in Eyes👀
Another crucial safety tip is to avoid getting the lash lift solution in your eyes. Though most lash lift solutions are gentle, they may cause irritation or triggered by an allergic reaction and may result in redness, swelling, or burning sensation. Therefore, ensure that you and your client keep your eyes closed throughout the process.
Discontinue Use if Irritation Occurs🚫
If you or your client experience irritation or discomfort during or after the lash lift process, cease the use of the product immediately. It is essential to take precautions and ensure the safety of your eyes and lashes. Continuing with the procedure may cause further harm or discomfort and may result in long-term damage to your eyelashes.
By following these expert tips for a safe lash lift procedure, you can achieve long-lasting, beautiful results without risking your eye and lash health.
My Experience with Lash Lifts: Transforming My Lashes for a Bold Look
Overall, I’ve found lash lifts to be a game changer for my beauty routine. Not only do they give me a more awake and bold look, but they also save me time and money in the long run. By lifting and curling my natural lashes, I can skip daily mascara and falsies while still achieving dramatic results.
One thing to keep in mind is that it’s important to follow the directions and safety considerations listed on the product labels. While the process itself is relatively simple, there are certain precautions to take in order to avoid irritation or damage to your eyes and lashes.
It’s also worth noting that the quality of your results will largely depend on the skill of the technician or your own precision when applying the products. Don’t hesitate to do your research and read reviews before entrusting your lashes to someone or attempting the process yourself.
All in all, I highly recommend lash lifts to anyone seeking a low-maintenance but high-impact beauty boost. It’s a relatively inexpensive and non-invasive way to take your look to the next level and feel great about yourself.