Introducing the Foundation: A Must-Have for any Photoshoot
Hey there! As a professional makeup artist, I cannot stress enough the importance of using foundation in every photoshoot. If you’re a model or a photographer, you want your subjects to look their best, and foundation is the perfect tool for creating a flawless complexion. But, before you start applying, let me give you some tips and tricks to ensure that you do it perfectly.
First, let me define what foundation is. It’s a makeup product that creates an even base for all other makeup to be applied on. It also helps to smooth out skin imperfections such as blemishes, uneven skin tone, and fine lines. Its purpose is to enhance your natural beauty and create a beautiful canvas, perfect for any photo.
Steps for Applying Foundation Perfectly: My Foolproof Guide
Hey there, gorgeous! Ready to learn my foolproof steps for applying foundation perfectly? As a professional makeup artist, I’ve seen it all – cakey, streaky, and mismatched foundation disasters. But fear not, my love, with these simple steps, you’ll achieve a flawless base for any photoshoot or event.
Step 1: Prep the Skin
The key to a flawless foundation application is a well-prepped canvas. Start by cleansing and moisturizing your skin. This will ensure that your foundation applies smoothly and stays put for hours. If you have oily skin, use a mattifying primer to prevent shine.
Step 2: Choose the Right Shade
Choosing the right foundation shade can be tricky but crucial for achieving a natural-looking finish. Test the foundation on your jawline, in natural light, to ensure a perfect match. If you tan, have a summer and a winter shade on hand to avoid mismatches.

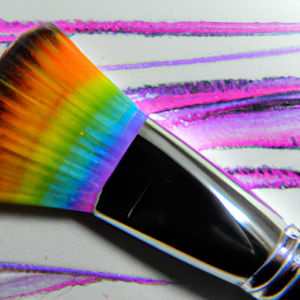
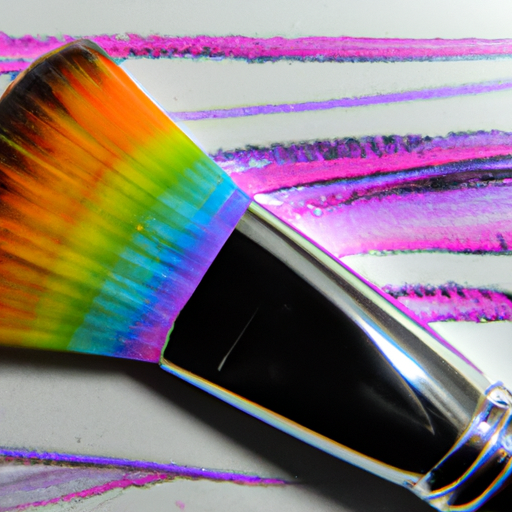
When it comes to applying foundation, I swear by using a flat makeup brush. Dip the brush into your foundation and apply it to your face in circular motions. Start from the center of your face and work your way outward. This will ensure even coverage.
Step 4: Blend and Build Coverage
Next, use a beauty blender to blend out any harsh lines or streaks. The key is to tap, not swipe the sponge, to prevent smudging. If you need more coverage, build it up in thin layers, focusing on any areas that need extra attention.
Step 5: Set with Powder
Last but not least, set your foundation with a light dusting of translucent powder. This will lock in your foundation and prevent excess shine. Use a fluffy brush to apply the powder lightly over your T-zone and any other areas that tend to get oily.
And there you have it! By following these simple steps, you’ll have a flawless foundation that’s perfect for any photoshoot or event. Give it a go, and don’t forget to show me your results on social media – I’d love to see them!
Tips for Enhancing Foundation
Now that you’ve mastered the art of applying foundation, let’s take it to the next level! Here are some tips to enhance your foundation and make it look even more flawless:
Use Primer: Before applying foundation, use a primer that will help your makeup last longer and also create a smooth base for the foundation.
Add Highlighter or Bronzer: Add some dimension to your foundation by adding some highlighter to the high points of your face or some bronzer to the contours. This will add depth and make your face look more defined.
Use Concealer to Cover Imperfections: If you have any imperfections that your foundation did not cover, use a concealer to spot-treat them. Choose a shade that matches your skin tone and apply a small amount with a brush or your finger.
By following these tips, your foundation will look even more flawless and natural. Experiment with different products and techniques to find what works best for you!
Conclusion: Let’s Get Camera-Ready!
Well folks, we made it to the end! We’ve covered all the steps for applying foundation perfectly, as well as tips for enhancing it and achieving flawless photoshoot-ready skin. Remember, the key to a beautiful complexion is starting with prepped, hydrated skin. From there, choose the right shade and use a brush to apply it evenly and build coverage as needed. Once you’ve achieved your desired look, set it with powder to ensure it stays put throughout your shoot.
Don’t forget about primer- it makes a huge difference in achieving a smooth, even finish. And if you really want to take your look to the next level, try adding highlighter or bronzer to bring out your best features. And of course, if you have any imperfections you want to cover up, never underestimate the power of a good concealer.
Thank you for reading my tips and tricks for achieving flawless foundation for your next photoshoot! And if you’re looking for more advice on how to prepare for a makeup photoshoot, head over to Wink’s Eyelash Boutique for some expert advice.
