A Winged Eyeliner Look – My Secrets for Perfecting the Look
Hey there, lovely people! I’m here to share my secrets for nailing a winged eyeliner look. First, let’s define what we’re talking about. A winged eyeliner look involves creating a sharp, angled line that extends beyond the outer corner of your eye. When done right, it can make your eyes look larger and more dramatic.
Now, you might be wondering, why bother mastering this look? Well, for starters, it’s a classic style that never goes out of fashion. It’s a great way to add some extra oomph to your everyday makeup routine, or to amp up your look for a special occasion. Plus, once you get the hang of it, it’s an easy way to create a bold and beautiful eye makeup look in minutes.
Prep Yourself Before You Wreck Yourself: Tips for Mastering Winged Eyeliner
Before you even think about creating that fierce winged eyeliner, it’s important to prepare yourself. Trust me, I’ve learned the hard way. Here are some tips to make sure you’re equipped for success.
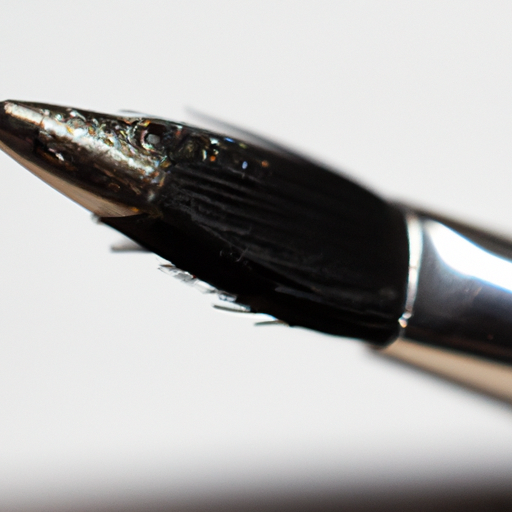
Choose the Right Tools
To achieve the perfect winged eyeliner, you’ll need the right tools. Don’t just settle for any old eyeliner pencil or liquid eyeliner – find one that works for you. Personally, I prefer a fine-tipped brush and gel eyeliner because it gives me more control and precision. However, if you’re new to the game, a felt tip eyeliner pen may be easier to use. Don’t forget about a mirror and some cotton swabs for quick touch-ups!
Creating an Even Base
Before you start drawing the line, make sure your eyelids are clean and dry. Apply some primer or eyeshadow base to make sure your eyeliner stays put. And if you have oily eyelids like me, set the base with some translucent powder to prevent smudging.
Winged eyeliner can be tricky to master, so don’t be discouraged if it takes a few tries to get it right. Start by practicing your basic line on the back of your hand or on a piece of paper. Once you feel comfortable, move on to your eyelid. Remember to keep your elbow stable and your wrist steady for more control.
By following these preparation tips, you’ll set yourself up for success when it comes to mastering the winged eyeliner look. So, take a deep breath, arm yourself with the right tools, and get ready to slay that winged eyeliner!
Mastering the Winged Eyeliner Look: A Simple Step-By-Step Guide
Okay, let’s get down to business and tackle the elusive winged eyeliner look. Don’t let the intimidating name fool you – with a little bit of practice and patience, you can totally rock this style. Here’s my step-by-step guide to achieving the perfect winged eyeliner:
Drawing the Basic Line
The key to mastering the winged eyeliner look is nailing the basic line first. Start at the inner corner of your upper lash line and draw a straight line using your eyeliner pencil or brush. Use short, light strokes to get the best control and build up thickness slowly as you go along. Once you’re happy with the length of the line, it’s time to tackle the wing.
Creating the Wing
This is where many people get intimidated, but fear not – it’s simpler than it seems. Start at the outer corner of your eye and draw a line upwards and outwards, following the natural curve of your lower lash line. This line is the length of the wing – use your discretion on how long or short you want it to be. Remember to stay relaxed and use short, light strokes to control the line, building up thickness gradually.
Connecting the Wing and the Line
This is where the magic happens – connecting the wing to the line is what gives the appearance of the winged eyeliner. Start at the tip of the wing and draw a diagonal line back towards your eyelash line, stopping before you get to the inner corner of your eye. Next, fill in the small triangle between the wing and the eyelash line to complete the look.
Finishing Touches
Now that you have the basic winged eyeliner down, it’s time to add some color and polish. Follow up by applying a coat of liquid liner or eyeshadow to intensify the look. If you’ve made any mistakes, don’t worry – use a small concealer brush to clean up any smudges or wobbles to get that perfect, crisp line.
And there you have it – a simple step-by-step guide to mastering the winged eyeliner look. With a little bit of practice and patience, you can easily pull off this desirable style.
Getting The Perfect Winged Eyeliner Look: Finishing Touches
Now that the winged eyeliner shape is complete, it’s time to add some color. I like to use a liquid eyeliner to fill in the wing for a bold and dramatic look. For a more natural look, a soft eyeshadow can be applied over the liner with a small brush. Don’t forget to use a good quality eyeliner that doesn’t smudge easily. However, be cautious not to overuse the product or you will get a thick and clumsy-looking line.
While working on your winged eyeliner look, you may make a mistake or two. Don’t worry, everyone does! To clean up mistakes, put a little concealer on a small brush, and carefully clean up any smudges or uneven lines. It will give a sharp and clean appearance to your eyeliner shape.
Another tip for finishing touches is to bend your head back while applying the eyeliner and then lower your head to check the symmetry of both wings. This simple pose check can expose minor flaws in the symmetry of your wings.
Finally, when you’re almost done, don’t forget to add a coat of mascara to complete the look. Mascara will help to blend the natural lashes with the winged liner and make them look more voluminous.
By following these finishing touches, you can achieve a perfectly symmetrical and bold winged eyeliner look that everyone around you will be envious of!
5. Conclusion: So, You’ve Mastered the Winged Eyeliner Look, Now What?
Well, first off, congratulations! You have just unlocked the gateway to a classic and timeless makeup glam look! Now that you’ve mastered the art of a winged eyeliner, it’s essential to know how to enhance it and keep it sharp throughout the day. Here are some key takeaways to ensure you always have a flawless winged eyeliner look:
Stick to Quality Products
Using quality products is a crucial component of achieving a smooth winged eyeliner look. Investing in good quality eyeliner pens and brushes will not only help you achieve precise and clean lines but also will help ensure your eyeliner look lasts the whole day. If you’re interested in learning more about quality makeup tips and tricks, you can check out Winks Lash & Beauty Lounge’s Achieving Flawless Makeup guide at https://winkseyelashboutique.com/achieving-flawless-makeup-what-you-need/.
Keep Your Skin Hydrated
Make sure your skin is well-hydrated before applying any makeup. Dry skin can make the makeup appear patchy and uneven. You can also use a primer before applying makeup to ensure that your skin remains hydrated and your eyeliner lasts longer.
Add a Pop of Color
A perfect winged eyeliner doesn’t always have to be black. You can experiment with different colors and create a more vibrant and unique look. With a little bit of practice, even bold colors like blue and green can look just as great as black eyeliner.
Don’t Be Afraid to Fix Mistakes
Remember, practice makes perfect, but it’s okay to make mistakes along the way. You can clean up smudges using a bit of concealer on a pointed brush for a clean and sharp look. Don’t be afraid to re-do it if needed. It’s better to take your time to fix it than to go out with a less-than-perfect winged eyeliner look.
So, there you have it! With these tips and tricks, you can flaunt your perfectly winged eyeliner look confidently. With some time, patience, and the right tools, anyone can master the winged eyeliner look.